Recipes
How to Make Fruit Leather
I’ve posted fruit leather recipes before, but if I haven’t convinced you yet, let me try again – Making your own fruit leather is super easy. Super easy.
And when you make it yourself, you’re making it without food coloring, without sugar, and without artificial flavors. Just fruit, nothing else. This is a great fun and tasty summertime activity for kids too.
So are you convinced? Yes? Well, let’s make some homemade Strawberry Banana Fruit Leather!
How to Make Fruit Leather
Start with high quality strawberries. Not those crunchy apple-sized ones that taste like a whole lotta nothing. You’ll need about 2 cups of strawberries and 1 large banana.
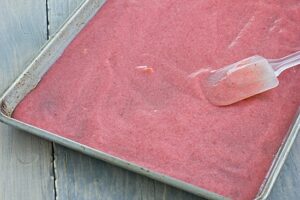
Cut the tops off the strawberries (be sure to wash them first!) and cut the banana into large chunks. Throw them in a blender or food processor and process until smooth.
Taste the mixture to see if any sweetener is needed. If the fruit was ripe, you shouldn’t have to add anything. But if the berries were a little tart, stir in honey or agave nectar to taste.
You can put the mixture through a fine mesh sieve if you want to remove the seeds, but it’s really not necessary.

Because fruit varies in water content and ovens vary in how they cook, I can’t tell you exactly how long the fruit leather will need to bake. This particular batch took 2 1/2 hours, which seems to be about the norm for my oven.
Note that my fruit leather is thinner than many other recipes, which is why it takes less time. I like it this way!
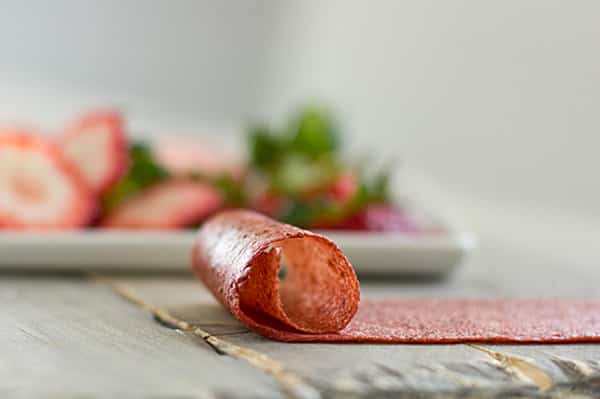
You want the leather to be pliable, but not wet; you should be able to touch the fruit leather without leaving an indentation.
You may notice the edges of the fruit leather are done before the center, particularly if the puree wasn’t spread evenly on the baking sheet before going into the oven. That’s okay! Just cut the edges off and return the fruit leather to the oven until the rest of it is done.
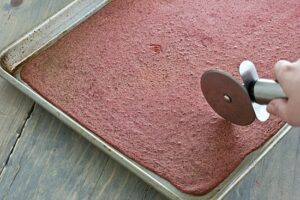
Once the fruit leather is done baking, cut it into strips or shapes using a pizza cutter, knife, or kitchen shears and when it’s cooled completely, wrap or roll in plastic wrap or wax paper.
We usually eat ours within a day or two, but according to the National Center for Home Food Preservation, it will last up to 1 month when wrapped in plastic and stored at room temperature or 1 year in the freezer.
Now wasn’t that easy? I told you it was!


